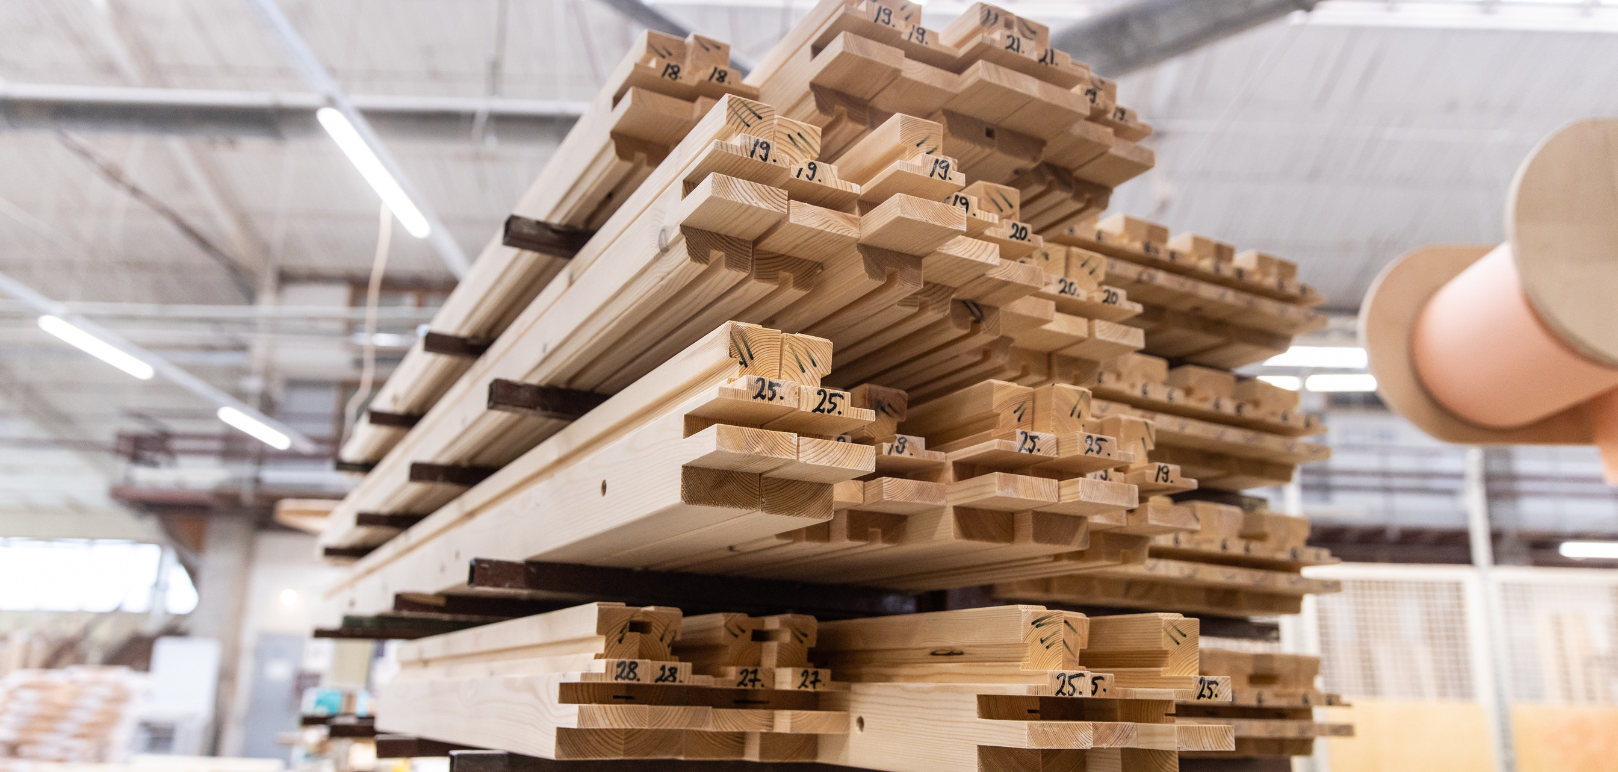
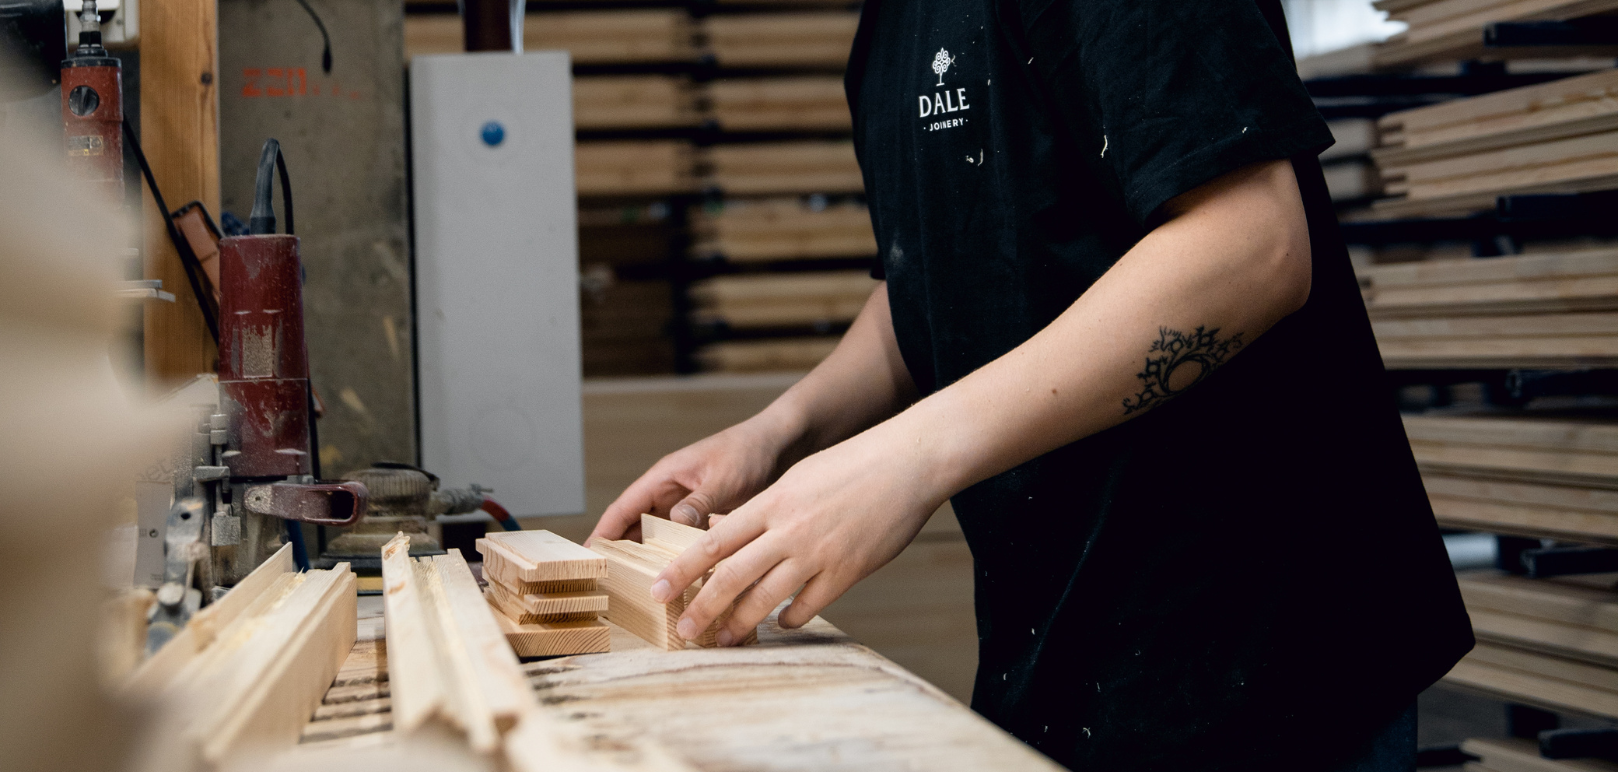
Storage of Material
Storage of timber material is a combination of raw, pre-formed and laminated timber. The pre-formed timber consists of everything we need for our windows and …
Learn More
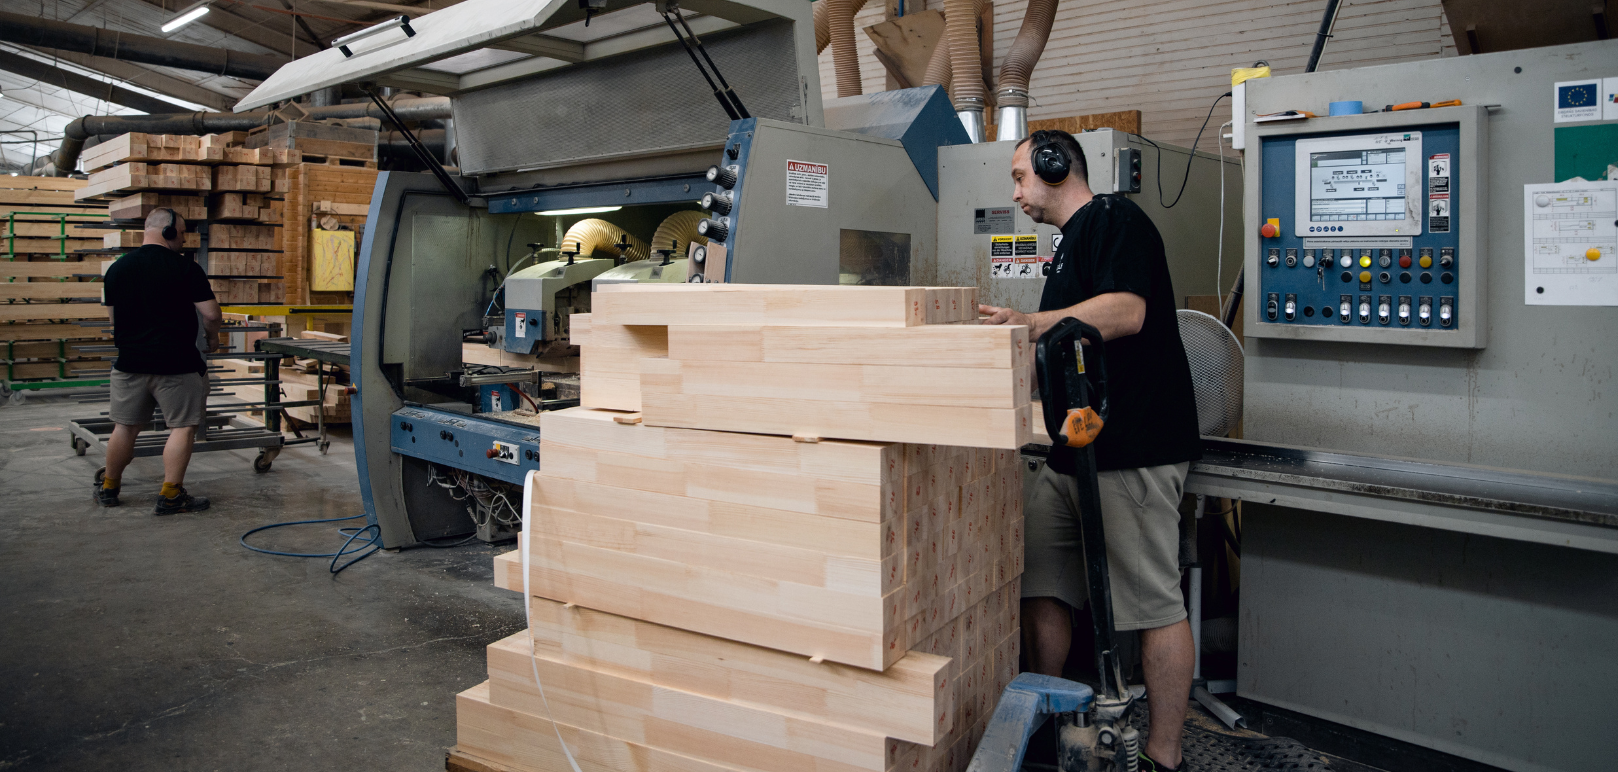
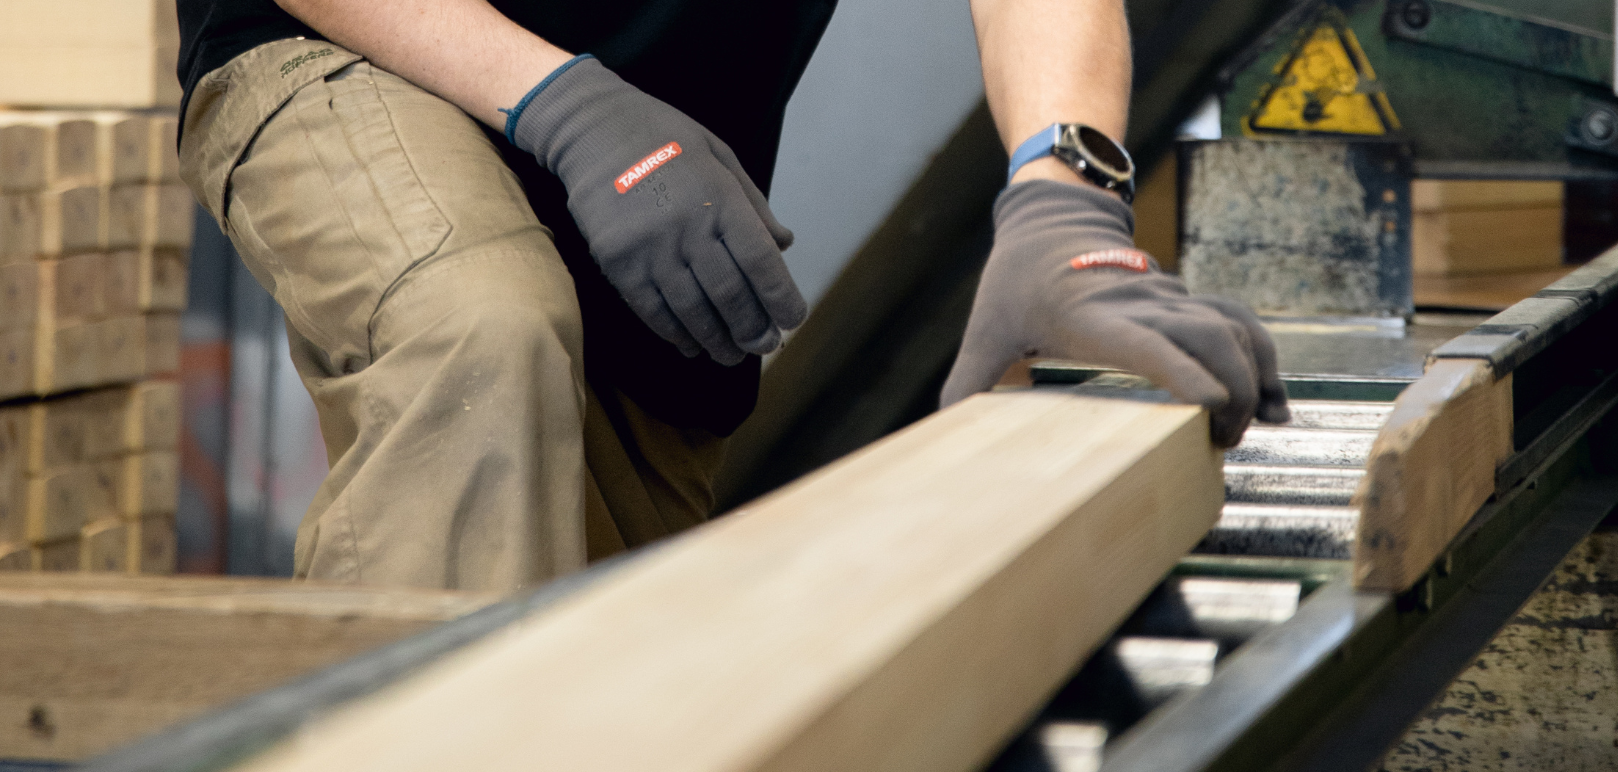
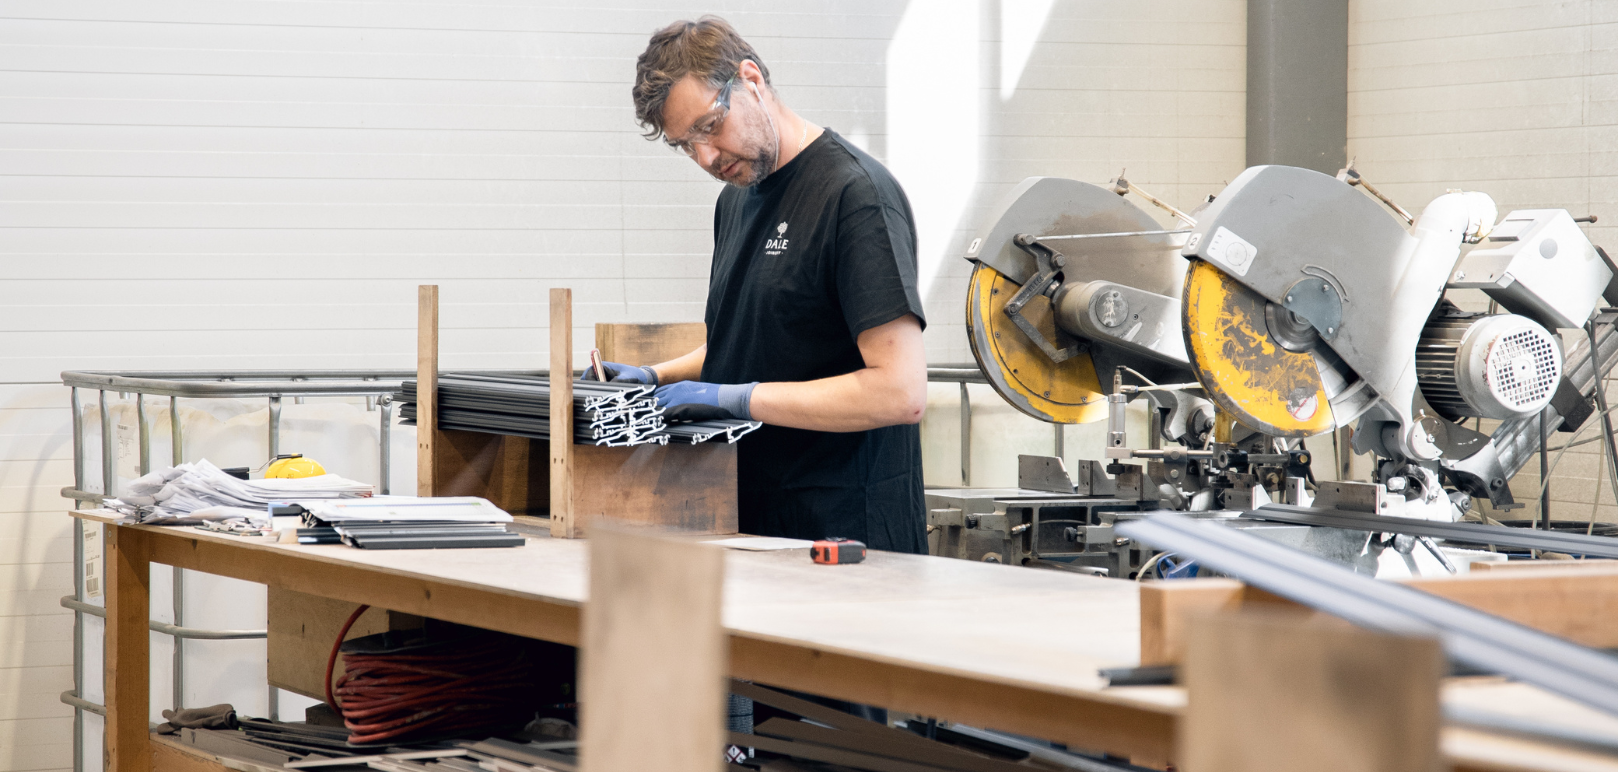
Cutting To Desired Length
Our cross-laminated timber is taken from storage, and our technicians begin by programming the chop saw machine to cut the desired length required.
See Video
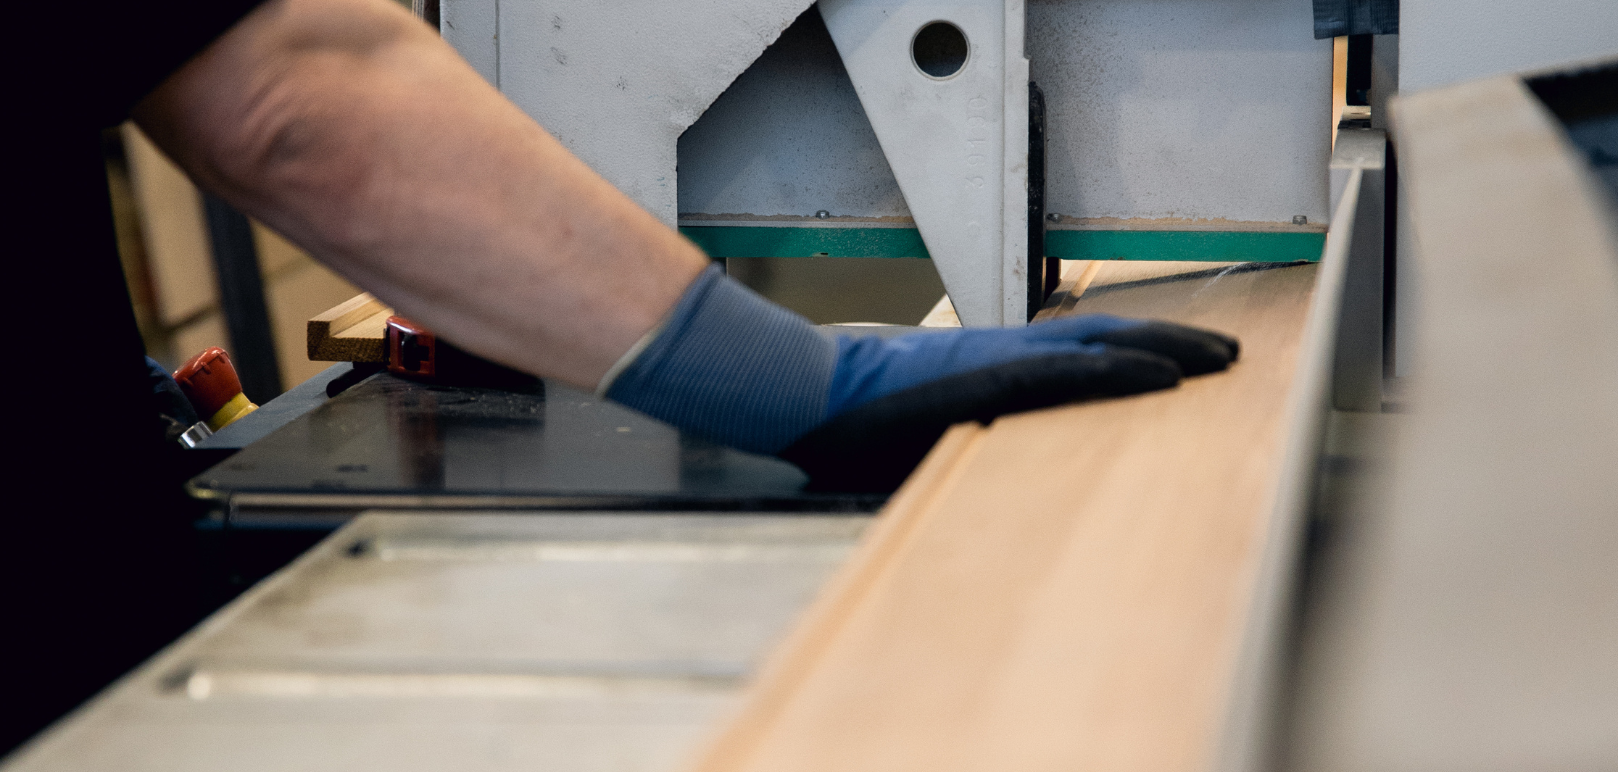
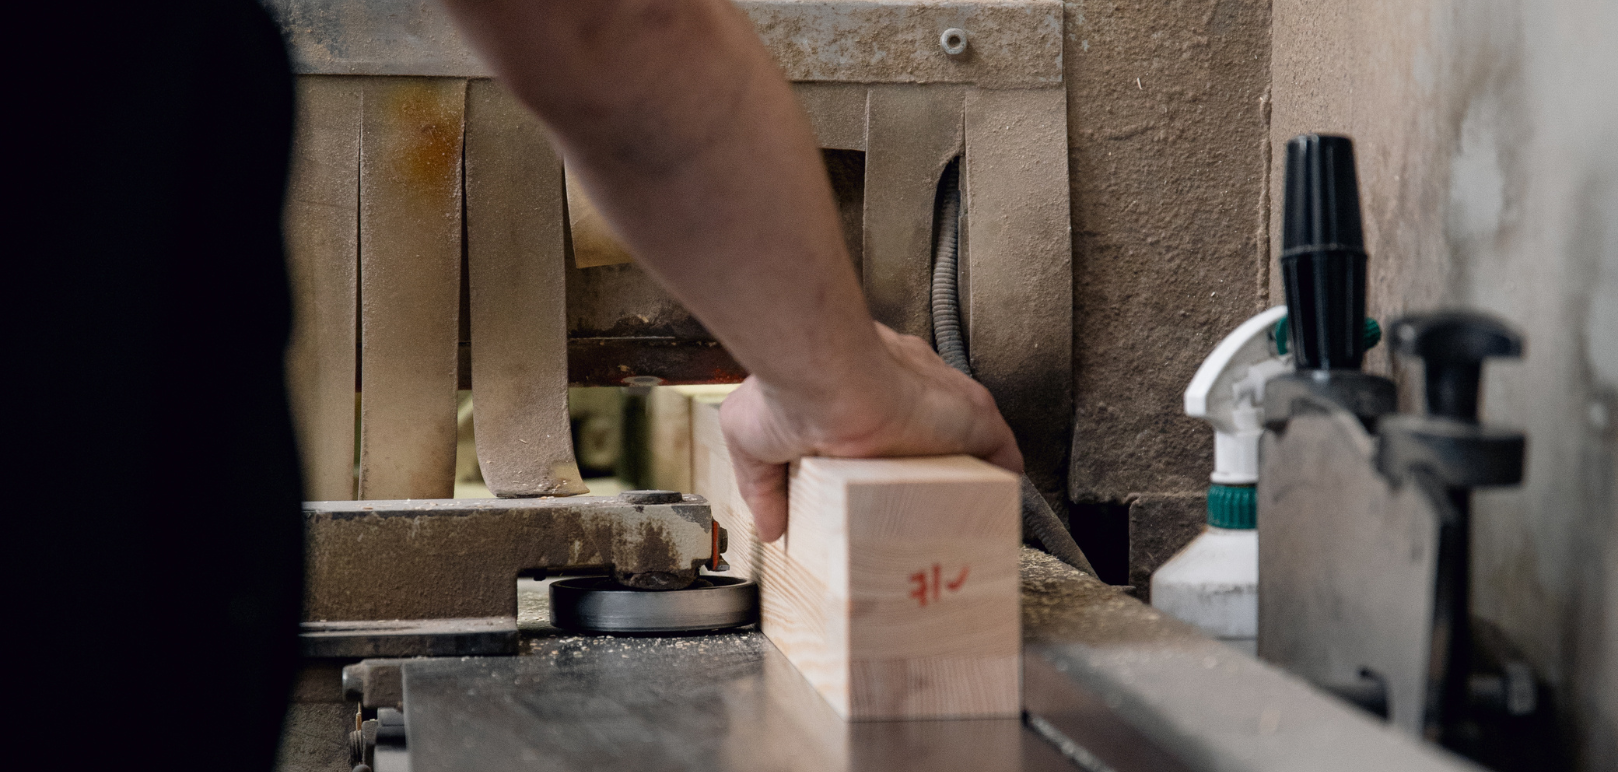
Planer Process for Windows
Once the timber is cut to the desired length, it enters the sanding process, which serves two purposes. One is to remove rough edges or imperfections, and the …
See Video
UC11 Machine
The UC11 machine, otherwise known as a profiling machine, performs multiple tasks and is an important part of our window and door process. It profiles external …
See Video
Grooves (CNC Machine)
After the timber for windows and doors has been profiled, we use a CNC (Computer Numerical Control) machine specifically designed for precision cutting and …
See Video
Making The Frame for Windows
The timber pieces are placed into a press machine, which is specifically designed for assembling and glueing window frames and sashes. The press applies …
See Video
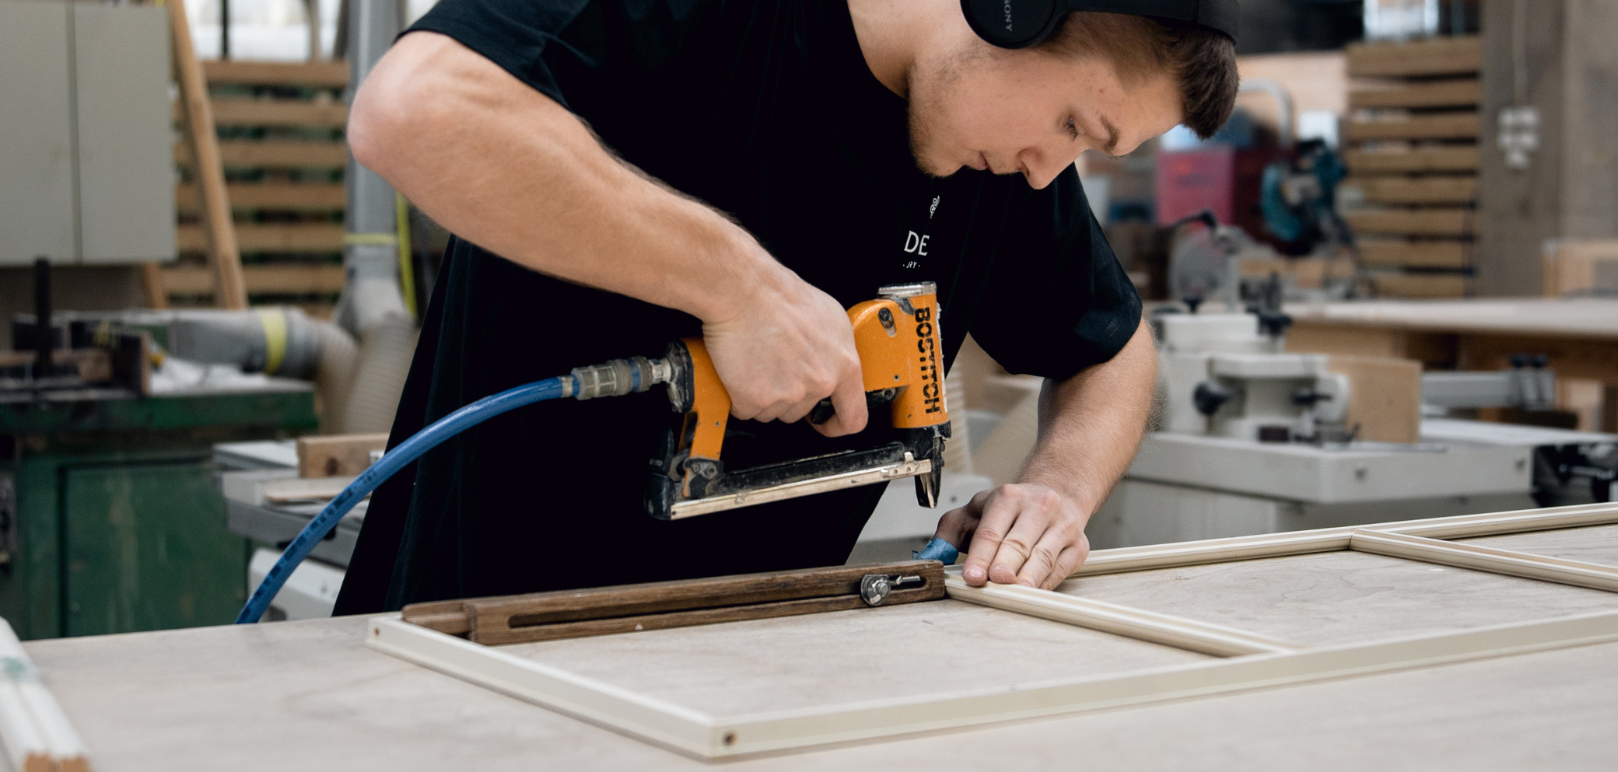
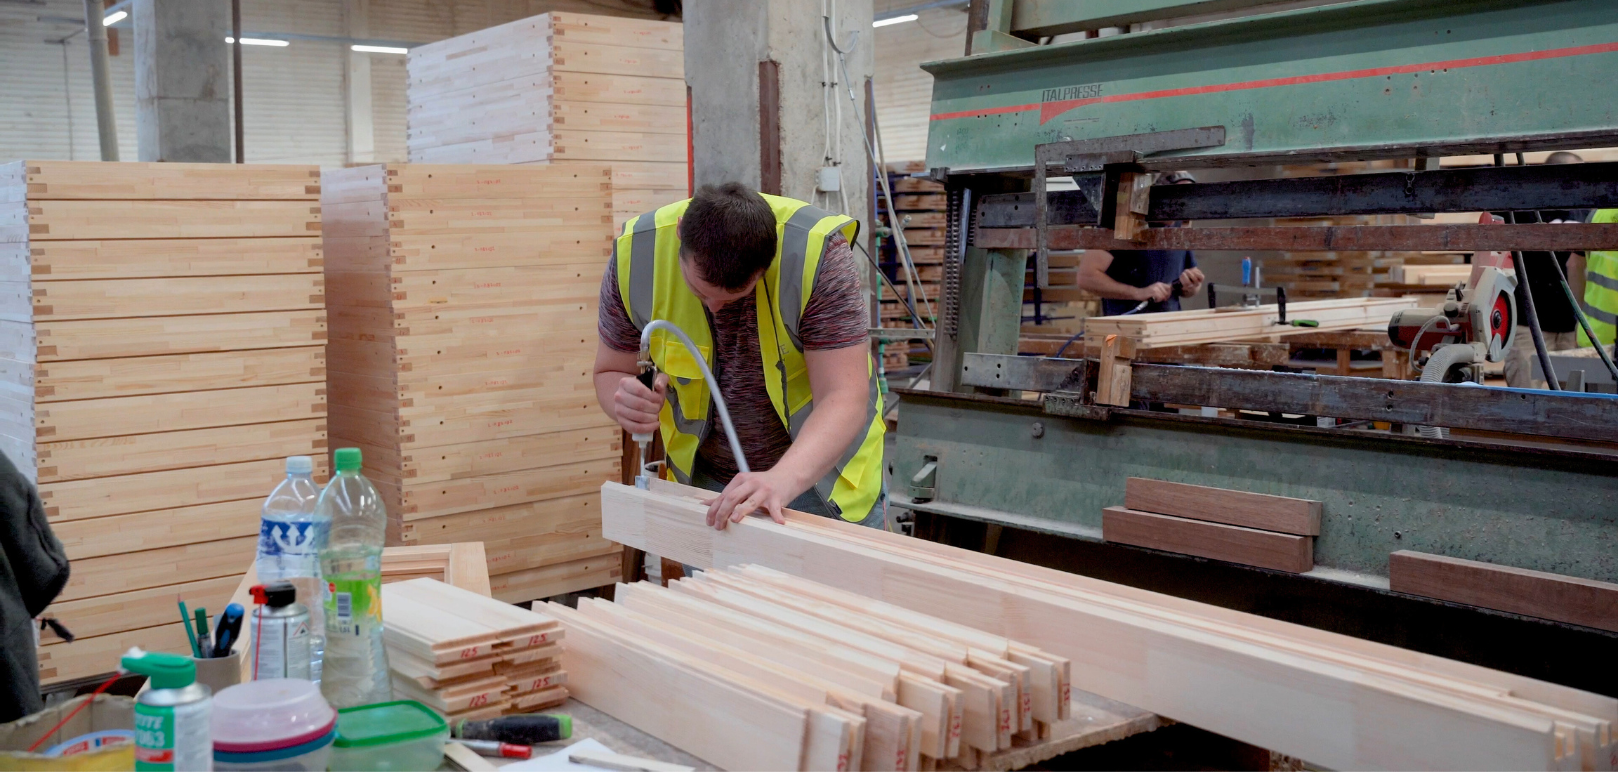
Glazing Bars to Window Sashes
Once the timber sashes have been fully formed, integral external glazing bars, otherwise referred to as ‘astragal bars’, are profiled, glued and pinned to hold …
Learn More
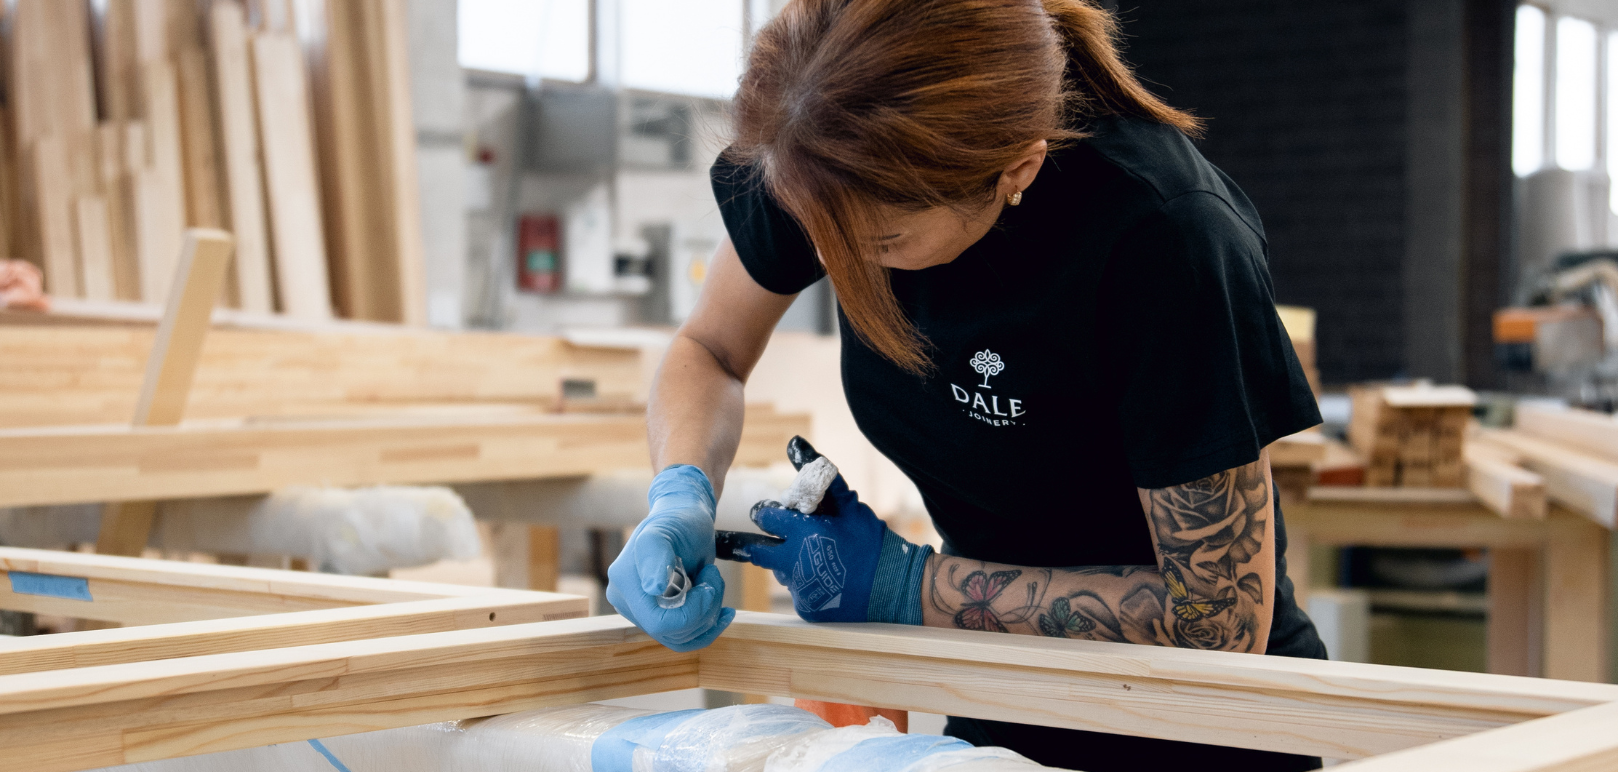
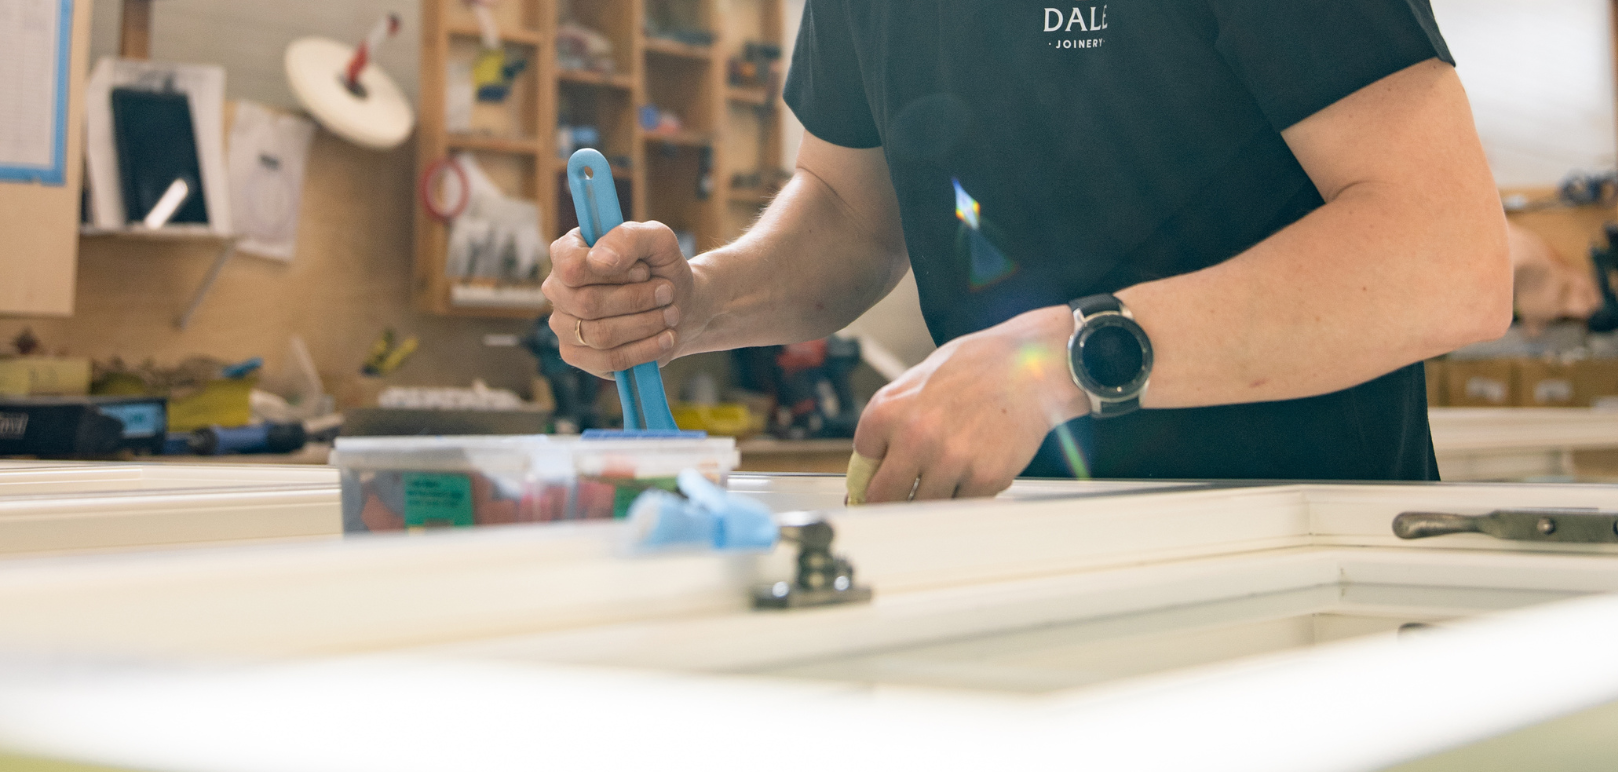
Priming & Caulking
Once the frames for window and door frames are pressed together, they are then prepped for the paint process. All of the internal and external joints are primed …
See Video
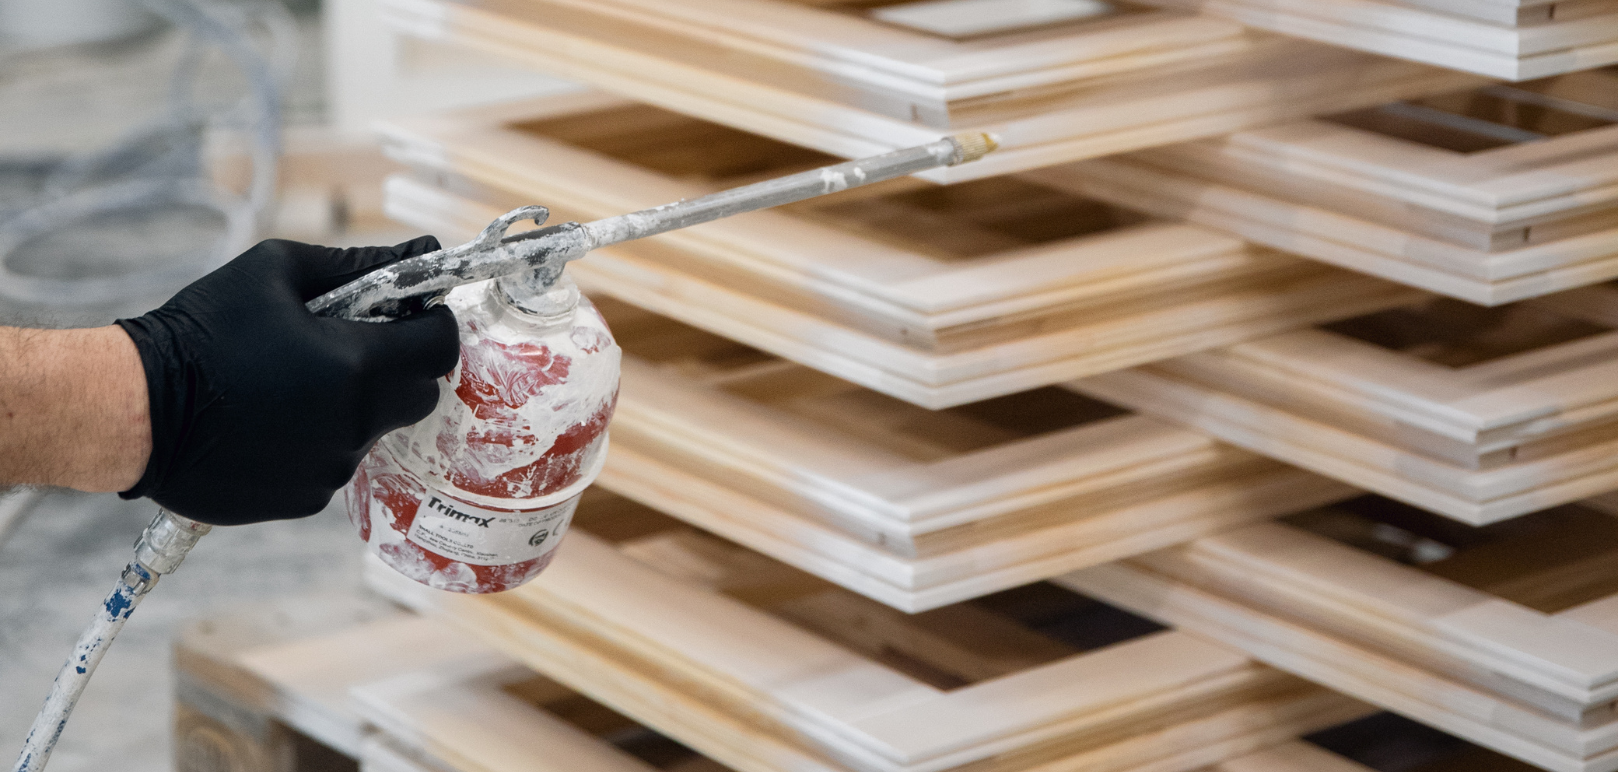
Priming Spray Shop
When the window and door frames reach the first stage of the spray shop, they are ready for full priming. The primer we use is a water-based, breathable system …
Learn More
Sanding Down Primer
Following the application of each primer coat, we meticulously sand the surface to achieve a smooth finish, eliminating any imperfections, rough patches, or …
Learn More
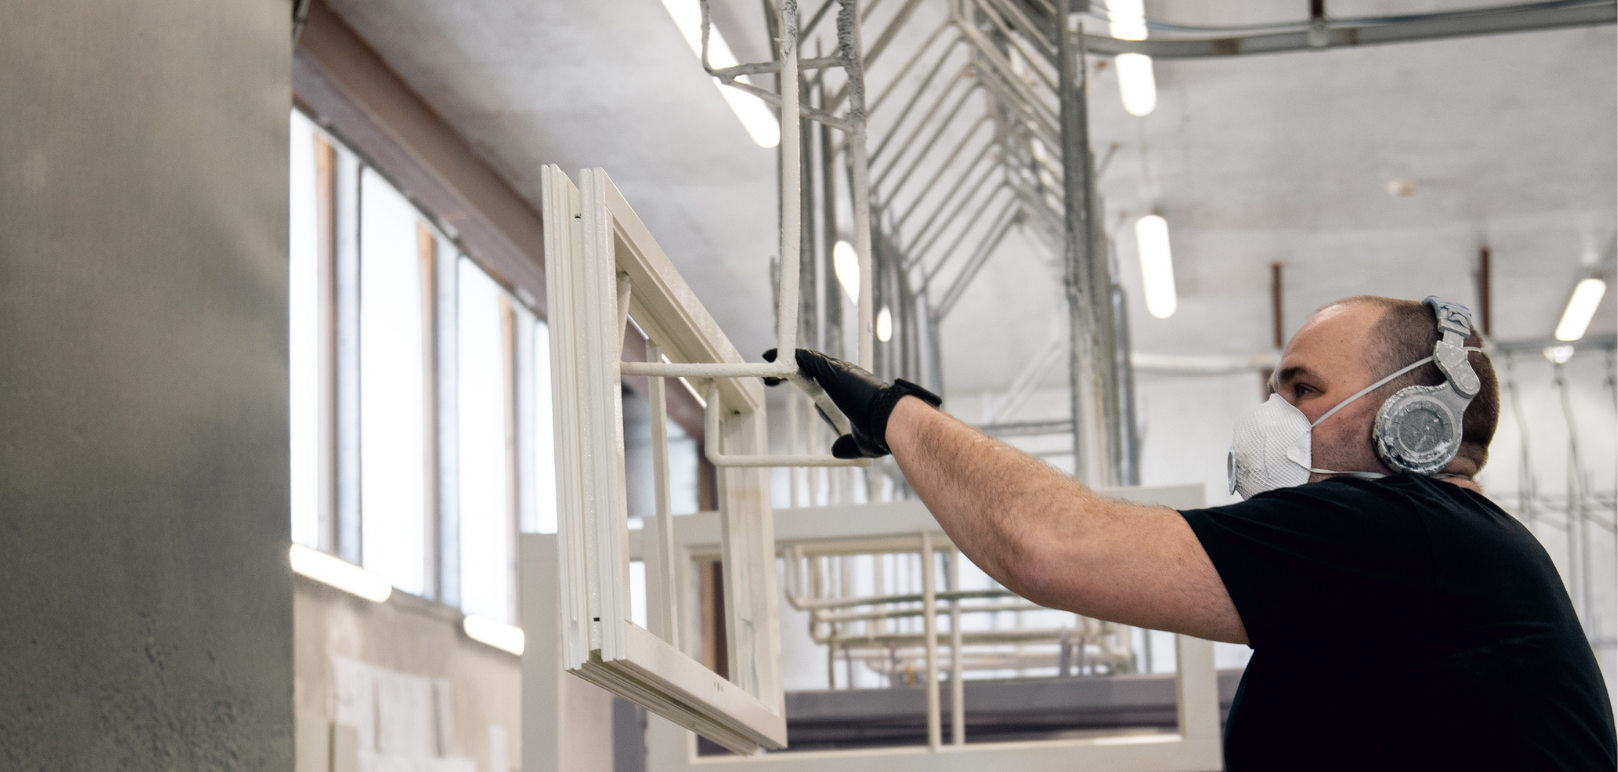
Top Coat Spray Shop
After priming and sanding, the window and door frames are sent to the spray shop, where they undergo a meticulous painting process, which involves three coats …
See Video
Glazing Process
Once the frames and trims are painted, they are ready to start the assembling process.
The installation of glass:
Energy-efficient double-pane insulated glass …
See Video
Window Assembly Part 1
The first stage of window assembly involves installing the hinges, locking mechanisms and gaskets, otherwise known as a window seal. The hinges we install are …
Learn More
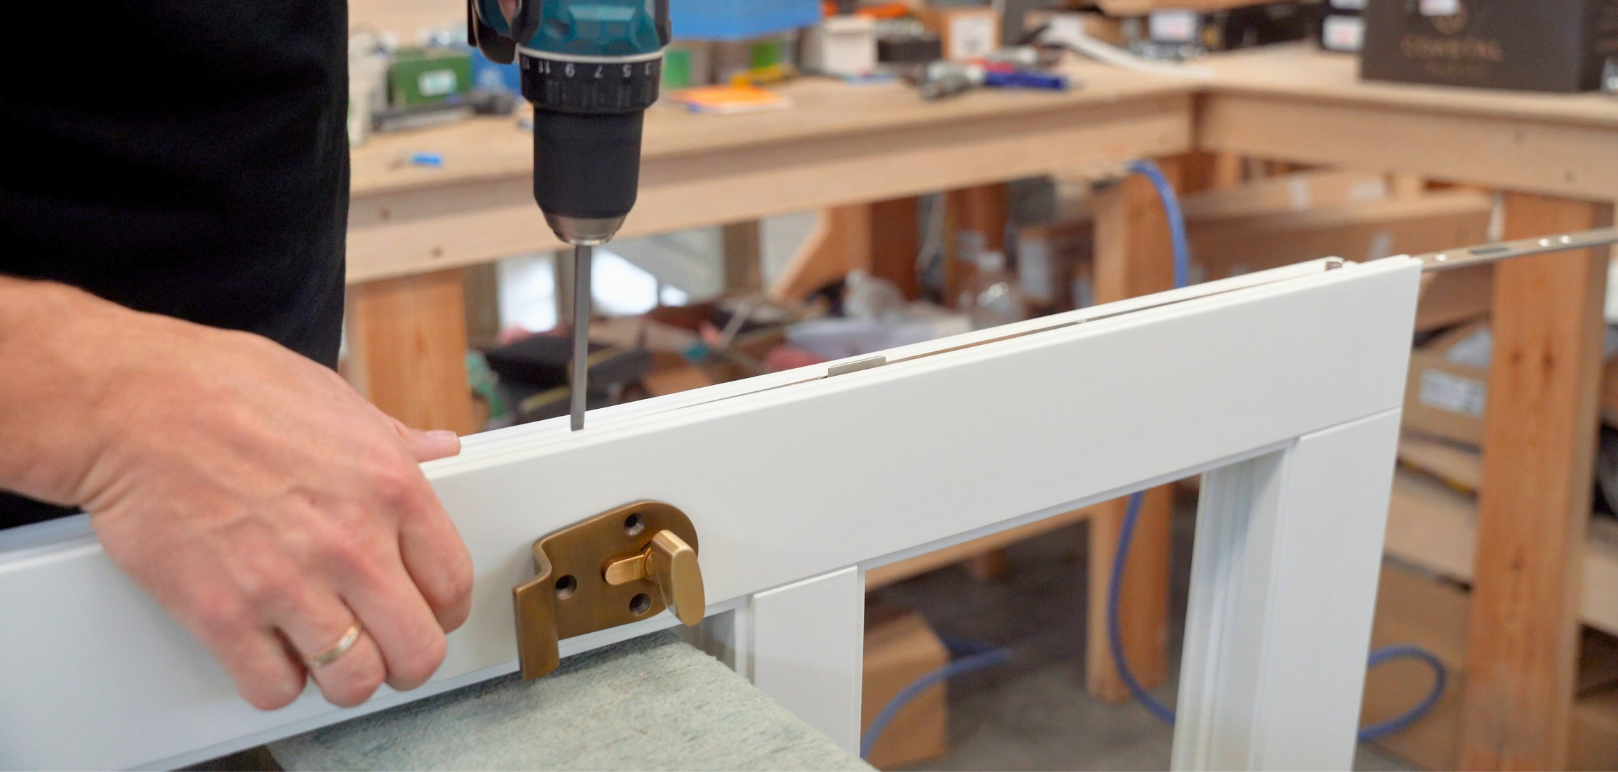
Window Assembly Part 2
The second stage of window assembly involves the installation of handles. We offer a selection of high-quality handles from two renowned brands: Coastal and …
Learn More
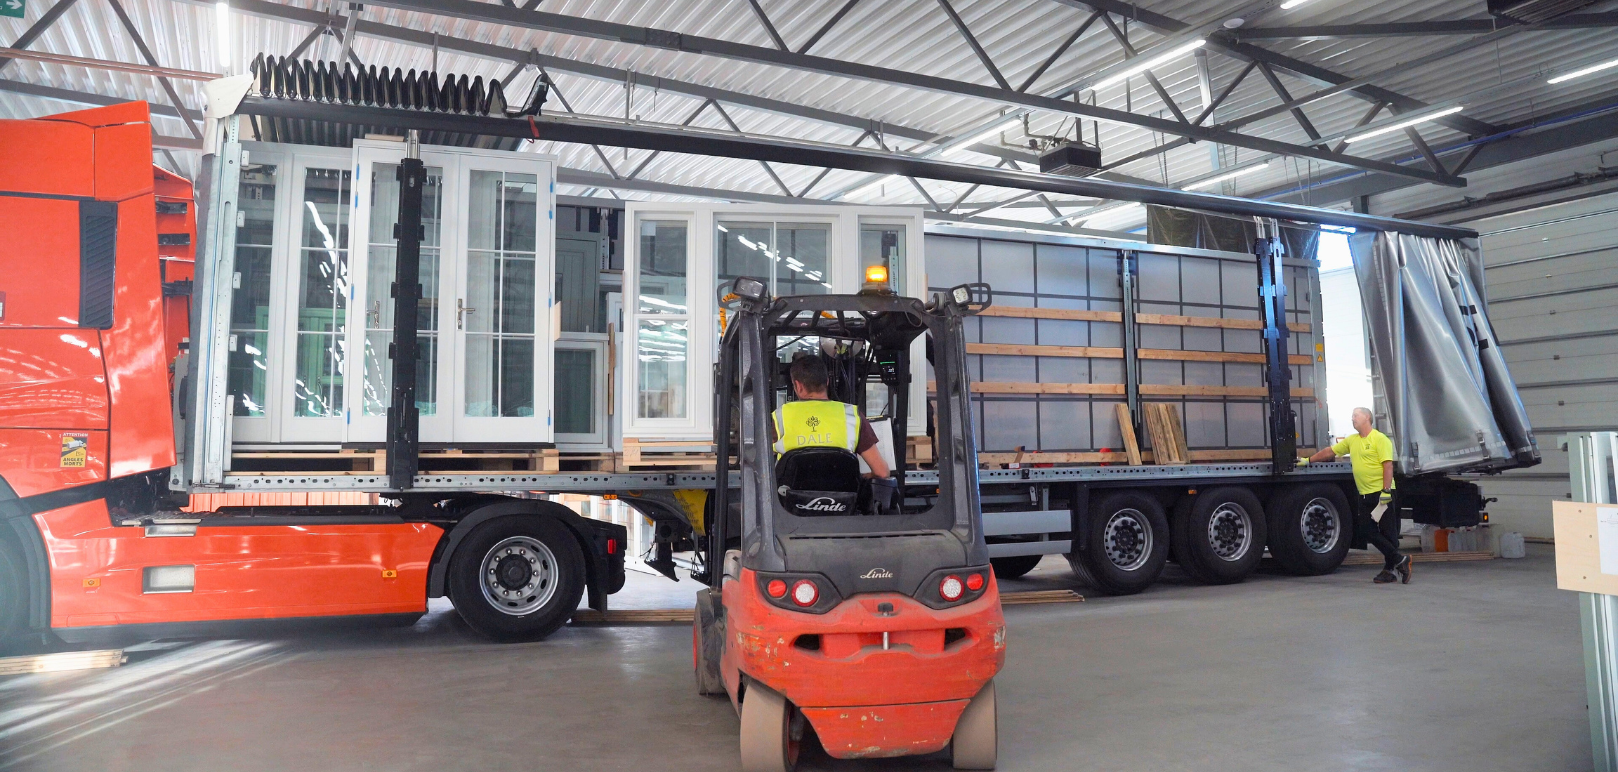
Quality Control & Shipping
Once the timber windows and doors are completed, they undergo a rigorous quality control process, including thorough cleaning and inspection.
Upon arrival at …
See Video
Storage of Material
Storage of timber material is a combination of raw, pre-formed and laminated timber. The pre-formed timber consists of everything we need for our windows and …
Learn More
Cutting Aluminium Thresholds & Panels
Our cross-laminated timber is taken from storage, and our technicians begin by programming the chop saw machine to cut the desired length required for the door …
See Video
Planer Process for Doors
Once the timber is cut to the desired length, it enters the planing and sanding process, which serves two purposes. One is to remove rough edges or …
Learn More
UC11 Machine
The UC11 machine, otherwise known as a profiling machine, performs multiple tasks and is an important part of our window and door process. It profiles external …
See Video
Grooves (CNC Machine)
After the timber for windows and doors has been profiled, we use a CNC (Computer Numerical Control) machine specifically designed for precision cutting and …
See Video
Making the Frame for Doors
The timber pieces are then placed into a press machine, which is specifically designed for assembling and glueing door frames. The press applies pressure to the …
See Video
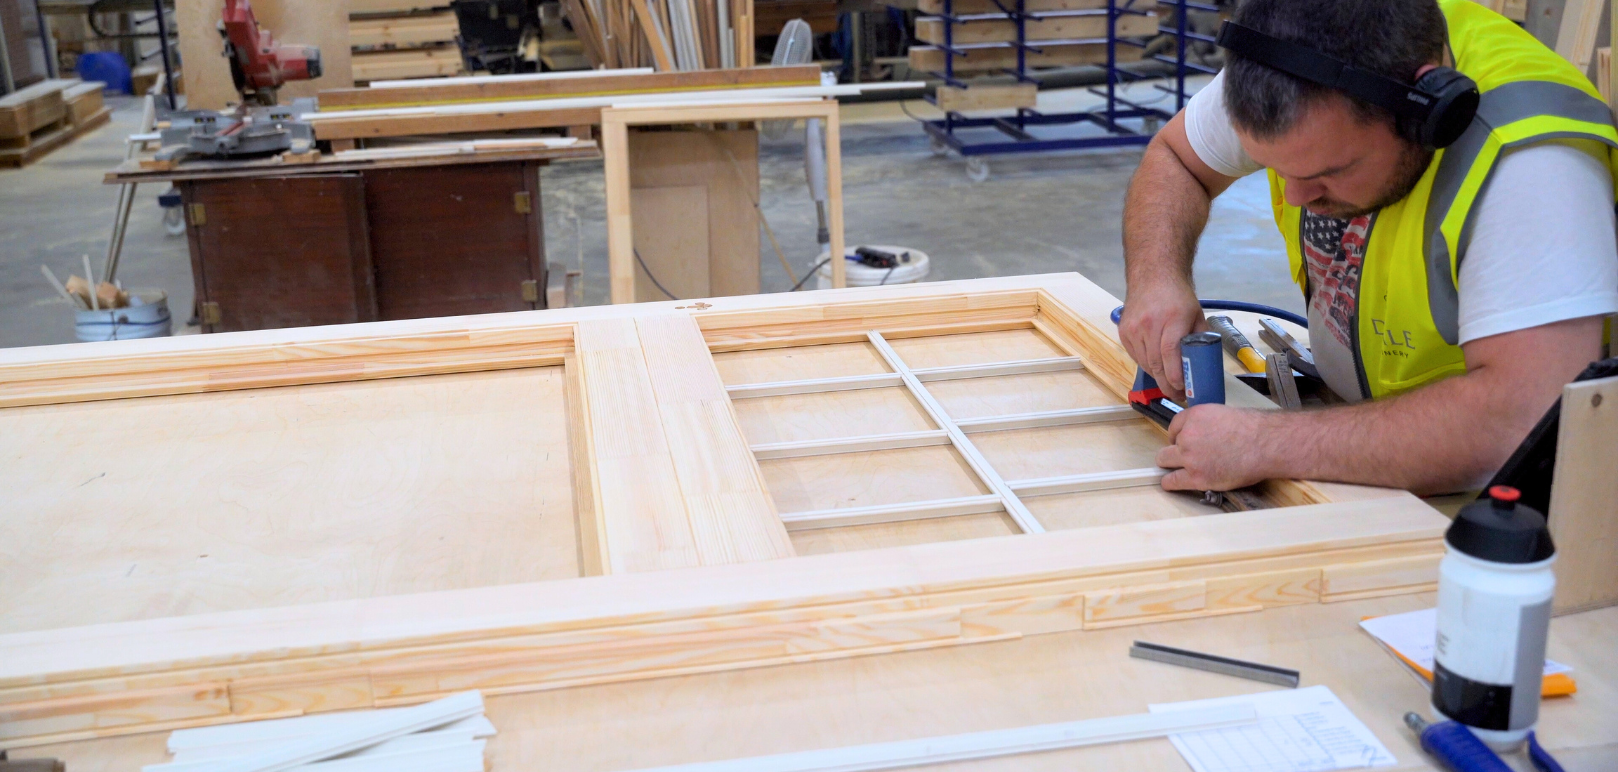
Adding Glazing Bars to Doors
Once the frames have been fully formed, integral external glazing bars, otherwise referred to as ‘astragal bars’, are profiled, glued and pinned to hold them in …
See Video
Priming & Caulking
Once the frames for window and door frames are pressed together, they are then prepped for the paint process. All of the internal and external joints are primed …
See Video
Priming Spray Shop
When the window and door frames reach the first stage of the spray shop, they are ready for full priming. The primer we use is a water-based, breathable system …
Learn More
Sanding Down Primer
Following the application of each primer coat, we meticulously sand the surface to achieve a smooth finish, eliminating any imperfections, rough patches, or …
Learn More
Top Coat Spray Shop
After priming and sanding, the window and door frames are sent to the spray shop, where they undergo a meticulous painting process, which involves three coats …
See Video
Glazing Process
Once the frames and trims are painted, they are ready to start the assembling process.
The installation of glass:
Energy-efficient double-pane insulated glass …
See Video
Door Assembly Part 1
In the initial phase of the door assembly, we focus on integrating essential components such as hinges, locking mechanisms, and gaskets, which are also referred …
See Video
Door Assembly Part 2
The second stage of door assembly involves the installation of handles. We offer a selection of high-quality handles from two renowned brands: Coastal and From …
Learn More
Quality Control & Shipping
Once the timber windows and doors are completed, they undergo a rigorous quality control process, including thorough cleaning and inspection.
Upon arrival at …
See Video
Storage of Material
Storage of timber material is a combination of raw, pre-formed and laminated timber. The pre-formed timber consists of everything we need for our windows and …
Learn More
Cutting To Desired Length
Our cross-laminated timber is taken from storage, and our technicians begin by programming the chop saw machine to cut the desired length required.
See Video
Cutting Aluminium Thresholds & Panels
Our cross-laminated timber is taken from storage, and our technicians begin by programming the chop saw machine to cut the desired length required for the door …
See Video
Planer Process for Windows
Once the timber is cut to the desired length, it enters the sanding process, which serves two purposes. One is to remove rough edges or imperfections, and the …
See Video
Planer Process for Doors
Once the timber is cut to the desired length, it enters the planing and sanding process, which serves two purposes. One is to remove rough edges or …
Learn More
UC11 Machine
The UC11 machine, otherwise known as a profiling machine, performs multiple tasks and is an important part of our window and door process. It profiles external …
See Video
Grooves (CNC Machine)
After the timber for windows and doors has been profiled, we use a CNC (Computer Numerical Control) machine specifically designed for precision cutting and …
See Video
Making The Frame for Windows
The timber pieces are placed into a press machine, which is specifically designed for assembling and glueing window frames and sashes. The press applies …
See Video
Making the Frame for Doors
The timber pieces are then placed into a press machine, which is specifically designed for assembling and glueing door frames. The press applies pressure to the …
See Video
Glazing Bars to Window Sashes
Once the timber sashes have been fully formed, integral external glazing bars, otherwise referred to as ‘astragal bars’, are profiled, glued and pinned to hold …
Learn More
Adding Glazing Bars to Doors
Once the frames have been fully formed, integral external glazing bars, otherwise referred to as ‘astragal bars’, are profiled, glued and pinned to hold them in …
See Video
Priming & Caulking
Once the frames for window and door frames are pressed together, they are then prepped for the paint process. All of the internal and external joints are primed …
See Video
Priming Spray Shop
When the window and door frames reach the first stage of the spray shop, they are ready for full priming. The primer we use is a water-based, breathable system …
Learn More
Sanding Down Primer
Following the application of each primer coat, we meticulously sand the surface to achieve a smooth finish, eliminating any imperfections, rough patches, or …
Learn More
Top Coat Spray Shop
After priming and sanding, the window and door frames are sent to the spray shop, where they undergo a meticulous painting process, which involves three coats …
See Video
Glazing Process
Once the frames and trims are painted, they are ready to start the assembling process.
The installation of glass:
Energy-efficient double-pane insulated glass …
See Video
Window Assembly Part 1
The first stage of window assembly involves installing the hinges, locking mechanisms and gaskets, otherwise known as a window seal. The hinges we install are …
Learn More
Door Assembly Part 1
In the initial phase of the door assembly, we focus on integrating essential components such as hinges, locking mechanisms, and gaskets, which are also referred …
See Video
Window Assembly Part 2
The second stage of window assembly involves the installation of handles. We offer a selection of high-quality handles from two renowned brands: Coastal and …
Learn More
Door Assembly Part 2
The second stage of door assembly involves the installation of handles. We offer a selection of high-quality handles from two renowned brands: Coastal and From …
Learn More
Quality Control & Shipping
Once the timber windows and doors are completed, they undergo a rigorous quality control process, including thorough cleaning and inspection.
Upon arrival at …
See Video